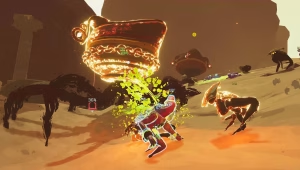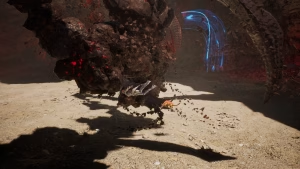

So you’ve made it through the Moonlit Forest, collected both Ruin Keys, and swung open that intimidating bronze gate — only to find a giant armored turtle waiting on the other side. Welcome to your Glintortle moment. Don’t panic. This guide will walk you through every attack, every weak point, and every trick you need to win.
Table of Contents
Glintortle — Boss Overview at a Glance
| Detail | Info |
|---|---|
| Location | Mural Valley, Moonlit Forest |
| Required Quest | Become an Intermediate Explorer |
| Boss Type | Armored Tank / Water Element |
| Weak Point | Glowing blue crystal on top of shell |
| Best Weapon | Bow + Bomb Arrows |
| Rewards | Water Arrow Blueprint, Pristine Orb Blueprint |
| Post-Boss Need | Fire Arrows (to clear vine blockage ahead) |
To even reach Glintortle, you need two Ruin Keys — one from Zephyria at the Exploration Club, and the other hidden inside a Treasure Chest in Azure Bay. Use both on the bronze gate, and the fight begins.

How to Beat Glintortle — Step-by-Step Strategy
Forget your slingshot entirely — normal ammo does almost nothing to Glintortle. You need a bow and Bomb Arrows to make a dent in its armor. FotMob Here’s how to approach each phase:
The Golden Rule: Only attack the glowing weak point.
Glintortle’s weak spot sits on top of its shell and glows to signal when to strike — hit it while the boss is dazed from a major attack to deal double damage. AiScore
The best overall strategy is to constantly dodge incoming attacks by jumping or running, then unleash your Bomb Arrows every time the crystal glows blue. Patience wins this fight — rushing it doesn’t. Sofascore
All Attacks & How to Dodge Them
| Attack | What Happens | How to Dodge |
|---|---|---|
| Water Beam | Charges and fires a sustained beam | Run sideways continuously |
| Spin Attack | Rapid spinning around the arena | Only run — never attack during this |
| Wave Attack | Sends powerful waves across the floor | Jump over them |
| “Everything” Attack | Tucks into shell, releases bubble chasers | Dodge bubbles, exploit weak point now |
| Blue Projectiles | Fires projectiles during shell glow | Keep moving, stay unpredictable |
The spin attack is the most dangerous — focus purely on running and don’t try to attack during it. The “Everything” attack is actually your best DPS window — during this phase Glintortle tucks into its shell and causes it to glow, creating an ideal moment to unleash Bomb Arrows on the weak spot while evading bubbles.
Pre-Fight Preparation Checklist
Bring a mix of Bomb Arrows and standard Arrows — around 20–30 Bomb Arrows supplemented by 50+ standard arrows is a solid starting point. Also stock HP-restoring food in your hotbar for quick access mid-fight.
Sentry Bots are also highly effective — deploy them at the start of the fight to provide constant passive DPS while you focus on dodging.
For more Starsand Island combat tips and progression guides, visit our Gaming Guides hub on TechnoSports. Also check out our Best Skills to Unlock First in Starsand Island on TechnoSports to make sure your character is fully prepped before this fight.
To understand more about the cozy-meets-combat genre that Starsand Island belongs to, see the life simulation game Wikipedia page.
FAQs
Q1. What do I get for defeating Glintortle in Starsand Island?
Defeating Glintortle rewards you with the Water Arrow Blueprint and the Pristine Orb Blueprint — both essential for progressing deeper into the Moonlit Forest and completing the Intermediate Explorer certification.
Q2. Can I leave the arena and come back during the Glintortle fight?
No — if you leave the arena, the boss respawns with full health. Stock up fully on Bomb Arrows, food, and Sentry Bots before opening the bronze gate to avoid having to start over.