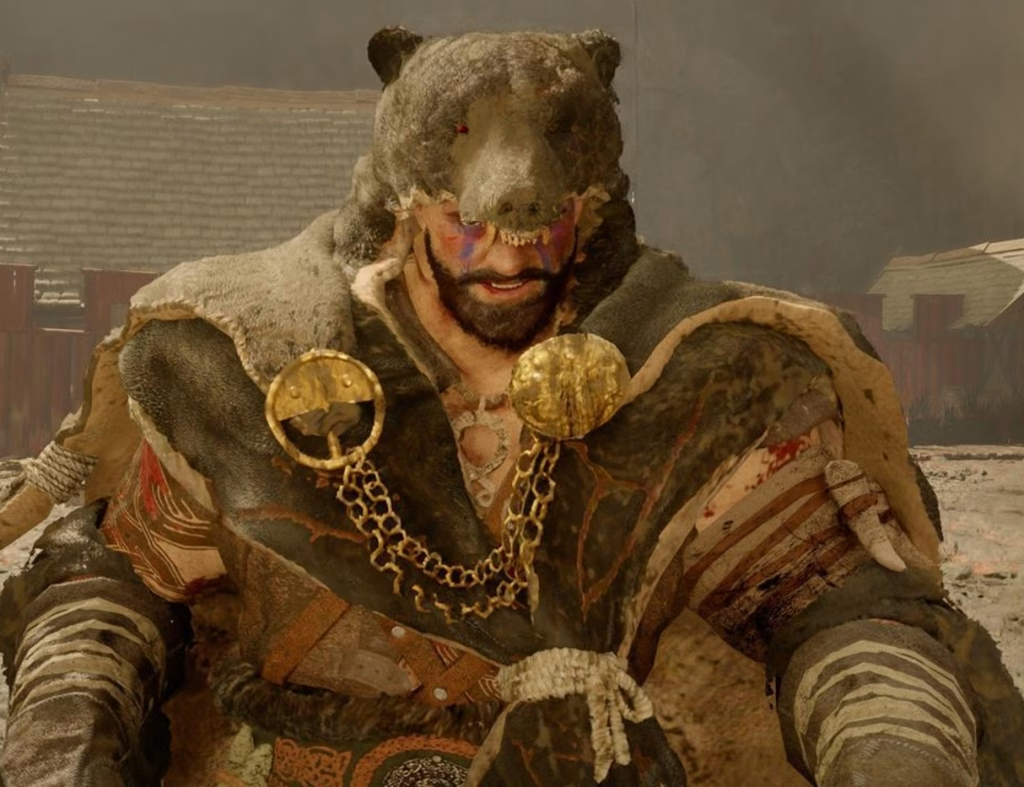
If Kearush the Slayer has you throwing your controller, you’re not alone. This massive orc-like brawler crashes a royal banquet at Hernand Castle, and his three health bars, relentless combo chains, and grab attacks make him one of the hardest walls you will hit in the early game. But there are clear, repeatable strategies that work — and this guide covers all of them.
Table of Contents
Kearush the Slayer — Crimson Desert
| Detail | Info |
|---|---|
| Location | Hernand Castle |
| Chapter | Chapter 5 — Uninvited Guest |
| Health Bars | 3 Phases |
| Weakness | 🔥 Fire damage |
| Key Gear | Canta Helm (Nullifies Roar), Fire Spear |
| Key Skill | Back Hang (Grappling tree) |
| Recommended HP | 675+ |
| Recommended Stamina | 240+ |
| Rewards | The Grove’s Thorn (One-Handed Weapon), Gale I, Howling of Chaos (2× Abyss Cores) |
Before You Even Enter — Preparation Is Everything
Head to Rhett, the arms dealer in town, and buy the Canta Helm, which has the Nullifies Roar affix — this completely trivialises one of Kearush’s main stun moves. If you can’t find the Canta Helm, a Plate Helm from the Hernandian contribution vendor works too.
Bring a Fire Spear if you can find one — flames scorch Kearush’s fur, causing him to stun for several seconds and giving you a clear damage window.

Stock up on healing food. Go into this fight with at least 18 Hearty Grilled Meat — each portion restores 220 health, more than enough to sustain through all three phases. Also unlock the Back Hang skill from the Grappling tree before you attempt this boss. Back Hang lets you mount Kearush from the side or rear and deliver repeated stab damage while staying out of reach of most of his attacks — it is the single most effective tool in this entire fight.
🎮 For more Crimson Desert guides and gaming tips, visit TechnoSports Gaming
Phase-by-Phase Breakdown
Phase 1 (White Health Bar) — Kearush’s attacks are slow in this phase. Use a sword and shield to block and dodge, pump damage after his combo ends, then retreat quickly. Play slowly and do most of your damage between combos.
Phase 2 (Green Health Bar) — Kearush leaps to a wall and stays there momentarily before crashing down. Roll in any direction once he leaps from the wall — attacking after he lands gives you a clean free-hit window. He also enters a chest-drumming immunity phase: don’t try to attack through it. Spam dodge rolls until it ends, then use Back Hang.
Phase 3 (Red Health Bar) — Kearush spams abilities from phases 1 and 2 at faster speeds with longer combo strings. He grabs more frequently and enters immunity phases more often — attack only after completed combos, and save your remaining food specifically for this phase.
Top Tips to Survive
This is a boss fight built on patience, not aggression. The players who lose are the ones who attack greedily mid-combo. Overcommitting to damage is the fastest way to lose — Kearush’s combos are designed to punish greed, and one mistake can cost a large chunk of your health bar. Also never heal in open space: Kearush can close the gap instantly and interrupt you. Back into a corner of the arena to heal safely.
🕹️ Stay updated on all gaming guides and esports news at TechnoSports
FAQs
Q: What is Kearush the Slayer’s biggest weakness in Crimson Desert?
Kearush is extremely weak to fire damage — equipping a Fire Spear or any flame-imbued weapon will stun him repeatedly, giving you extended free-damage windows across all three phases of the fight.
Q: What do you get for defeating Kearush the Slayer in Crimson Desert?
Defeating Kearush rewards you with The Grove’s Thorn one-handed weapon, plus two powerful Abyss Cores — Gale I and Howling of Chaos — which are essential for mid-to-late game character progression.