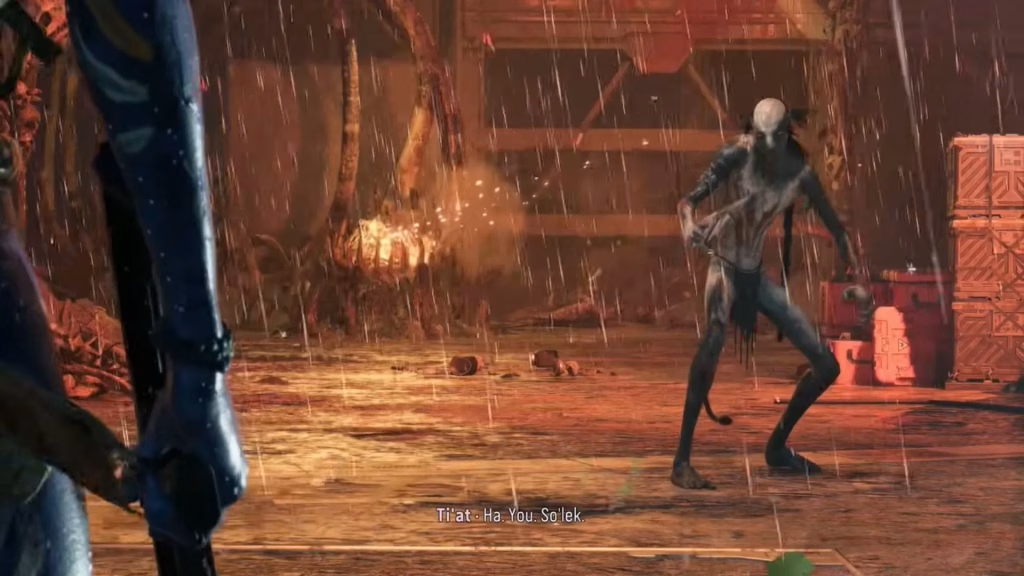
The final chapter of Etuwa’s quest arc in Avatar: Frontiers of Pandora’s From The Ashes DLC delivers intense action as So’lek fights to rescue Ka’nat from RDA captivity. After discovering Etuwa’s father has been kidnapped, this mission takes you deep into enemy territory for a heart-pounding extraction that tests your combat skills and stealth abilities.
Table of Contents
Avatar DLC Overview
| Detail | Information |
|---|---|
| Quest Name | Etuwa’s Fire (Part 3) |
| DLC | From The Ashes |
| Prerequisites | Complete Etuwa’s Fire Parts 1 & 2 |
| Main Objective | Rescue Ka’nat from RDA detention |
| Difficulty | Hard (Stealth + Combat) |
| Rewards | Story progression, XP |
Step 1: Investigate Ka’nat’s Hunting Nest
After finishing Part 2, fast travel to the Highmost Seat and speak with Etuwa. She reveals her father went missing while hunting for the clan, and the dying RDA soldier’s information was accurate. Mount your Ikran and fly to the objective marker showing Ka’nat’s last known location—his hunting nest.
Upon arrival, you’ll discover he’s been captured by the RDA. The evidence is clear: Ka’nat never made it back, and Etuwa fears the worst. This straightforward objective sets up the rescue mission ahead.
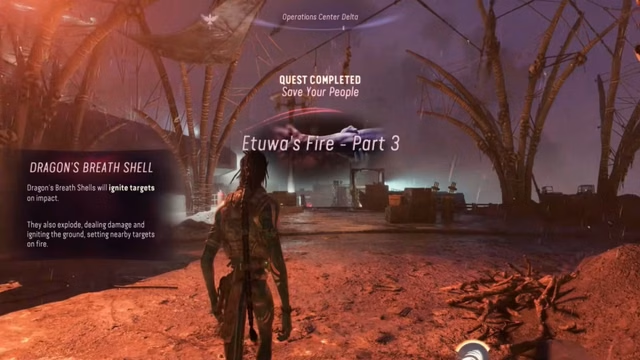
Step 2: Infiltrate the RDA Detention Facility
Fly to the marked RDA base and enter through the main tunnel. The facility is heavily guarded with soldiers patrolling every corner, so equip your Assault Rifle or Shotgun for optimal results. Climb upwards to reach the surface level, then take a right turn where you’ll find Polymer Sticks and RDA Ammo if needed.
Watch for an armored enemy ahead—eliminate them quickly and take another right. Flip the switch to open the door, then enter the vent on your left. At this point, So’lek and Etuwa split up: you head to the lower levels while she searches above for her father.
For more gaming walkthroughs and tips, explore our Avatar guides section and DLC coverage.
Step 3: Navigate the Detention Center
Enter the Detention Center and descend the stairs quickly. Take three consecutive right turns, going through all doors. Drop down the grate and enter the open vents directly ahead. Navigate to the end of the vent system and jump up to exit outside.
Once you reach the pipes area, Hellhounds and RDA soldiers will be patrolling below. Use your Assault Rifle to eliminate them from above, then drop to the ground. This action triggers a door opening, revealing more soldiers rushing toward you. Clear them all out and use the door lock mechanism.
Step 4: Reunite Etuwa and Ka’nat
After clearing the detention area and using the door lock, a cutscene triggers showing Etuwa successfully finding her father. The emotional reunion is brief, as you must now escort them out of the facility safely. Take a left and exit through the door, moving forward carefully.
Grab Healing Gel along the path—you’ll need it for the final confrontation. The facility continues spawning RDA reinforcements, so maintain awareness and conserve ammunition where possible.
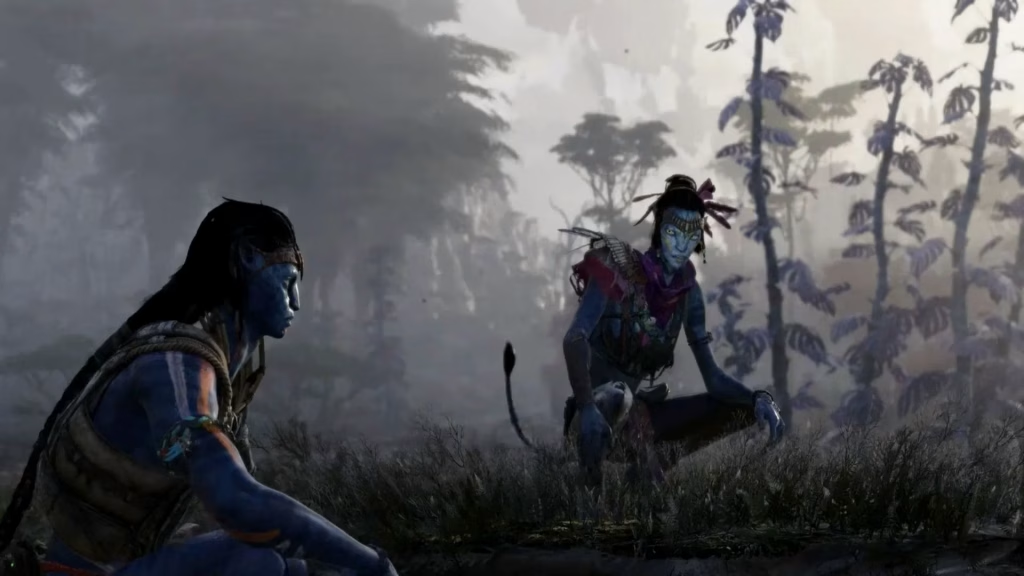
Step 5: Face Ti’at on the Surface
Upon reaching the surface, you’re immediately confronted by Ti’at, a formidable Mangkwan warrior who serves as the boss encounter for this quest. This fight is challenging, requiring you to dodge attacks while landing precision shots. Ti’at uses both ranged and melee attacks, so maintain distance and use cover strategically.
Focus fire on Ti’at while Etuwa and Ka’nat provide support. Use your Na’vi Senses to track her movements and exploit openings. After depleting her health, the quest concludes with a final cutscene showing the family reunited and safe at the base.
According to Ubisoft’s official site, this quest represents a major turning point in the From The Ashes storyline, deepening the bond between So’lek and the Aranahe clan.
FAQs
How do I start Etuwa’s Fire Part 3 in Avatar Frontiers of Pandora?
You must first complete Etuwa’s Fire Parts 1 and 2. After finishing Part 2, the quest becomes available automatically. Fast travel to the Highmost Seat and speak with Etuwa, who will tell you Ka’nat is missing. This triggers the rescue mission objectives that lead you to the RDA detention facility.
What’s the best strategy for fighting Ti’at at the end of the quest?
Maintain distance and use your Assault Rifle for consistent damage. Ti’at alternates between ranged gunfire and melee rushes—dodge her charges and use environmental cover. Mark her with Na’vi Senses to track her position, and focus fire during her reload animations. Etuwa and Ka’nat provide distractions, giving you openings to land critical hits. Keep Healing Gel equipped and use it when health drops below 50%.