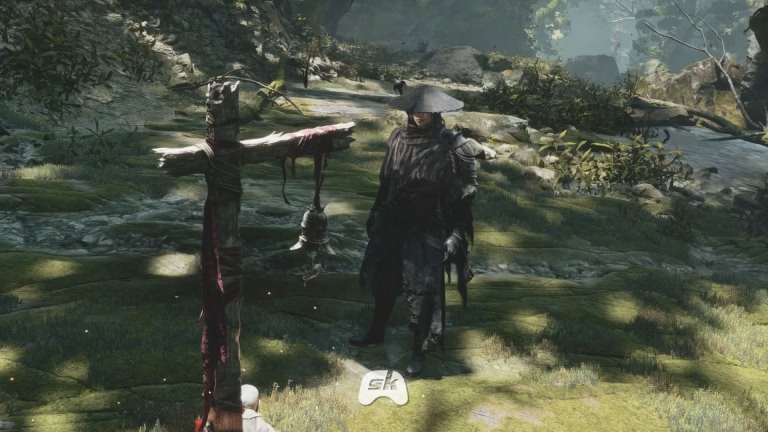


Diverging Paths is where Phantom Blade Zero stops holding your hand. Two routes, different enemies, unique rewards—and one wrong turn locks you out of loot until a replay. Here’s the clean, spoiler-light route. For franchise context, see Phantom Blade Zero on Wikipedia.
Phantom Blade Zero : Overview
| Quick Look | What to Know |
|---|---|
| Chapter | Diverging Paths |
| Core mechanic | Branching route choice with distinct rewards |
| Key mistake | Committing before checking both branches |
| Missable risk | Route-exclusive drops and upgrade materials |
| Smart tip | Save before the split; clear both paths on separate attempts |
| Difficulty spike | Elite encounters mid-branch—prep first |
Step 1: Save at the split. The fork point is a checkpoint—treat it as a bookmark, not a formality. Manual-save or rest at the shrine before choosing. That single habit turns a locked door into a replayable experiment.
Step 2: Scout, don’t sprint. Both branches telegraph their identity early: one leans toward tighter corridors and elite duels, the other toward open arenas and mob pressure. Spend two minutes reading the layout before your first commit.
Step 3: Clear the left path first. It’s usually the shorter branch, which makes it ideal for testing your build against the chapter’s elite enemy. If your timing feels off, you’ve learned it cheaply. Bank any drops, then return to the split.
Step 4: Then run the right path. This branch tends to hide the chapter’s more interesting loot—upgrade materials, a weapon component or a skill unlock. Clear enemies methodically; rushing past mobs to reach a chest is how players walk into a flank.
Step 5: Watch the mid-branch elite. Both routes feature a difficulty spike, but the timing differs. Clear adds first, use cover and treat the elite’s opening combo as a lesson—not a punishment. Retreating to heal is smarter than trading damage you can’t afford.
Step 6: Grab everything before the convergence. Route-exclusive items vanish once the paths merge. Check side rooms, breakable objects and any optional encounter markers before you advance the main objective.
Step 7: Reconcile your build. Once both routes are cleared, spend the materials you earned. Upgrade the weapon or skill that suited your playstyle—not the one that looked flashiest in a guide.
For more action-RPG guides, boss breakdowns and no-fluff gaming tips, explore the TechnoSports gaming hub and the main TechnoSports site.
FAQs
Do both Diverging Paths routes need to be cleared?
No—but each holds route-exclusive loot.
Save before the split to grab both without a full replay.
Which path should I take first?
Start with the shorter, elite-heavy branch to test your build.
Then return and clear the longer route for the better rewards.